Skin care and turmeric oil

This post got deleted in the final stage of editing…..

5

I am a homemaker, a teacher, an inquisitive  person, an experimenter and of course being a womdan, natural skin & hair expert!!

DSC08495
I used turmeric roots, homemade turmeric powder can also be used

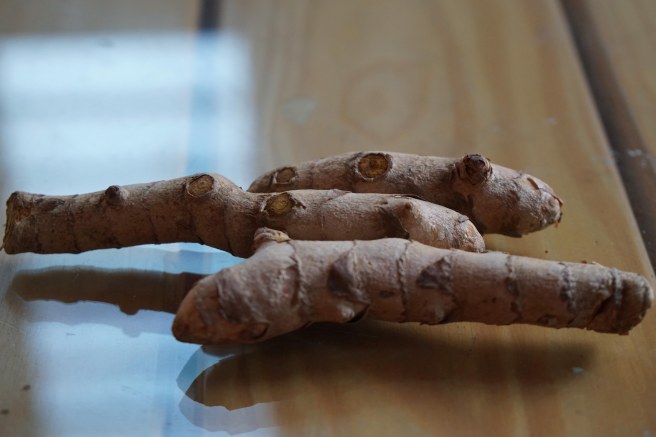
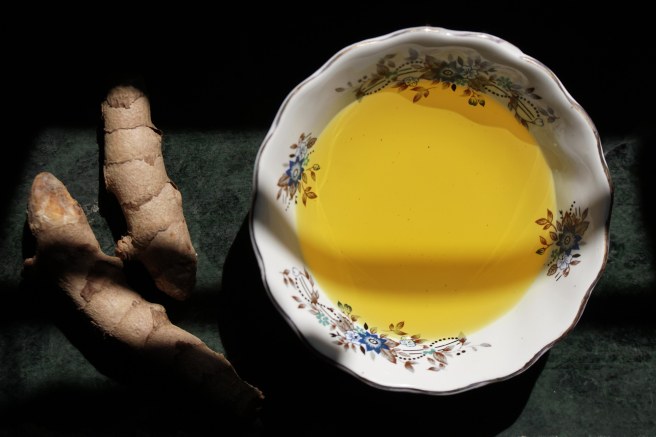
I love turmeric and I can vouch on it, I have been using it since I was a child. During festivals or auspicious occasions my mother would make a paste of turmeric roots and apply on my whole body. The yellow tan did not matter much then, because many other neighborhood kids also roamed around looking like yellow zombies. It carried on to my teens and has continued till date, except that it has reduced from a bowl to a pinch, and from whole body to only face!

DSC08500
Grated the turmeric roots and cooked in coconut oil over low flame till all the moistures vapourises

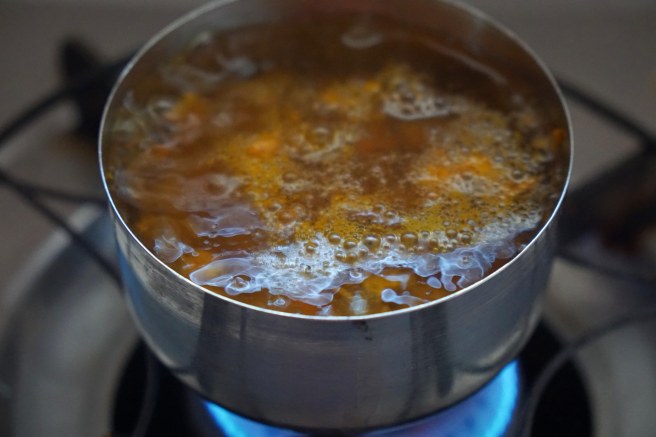
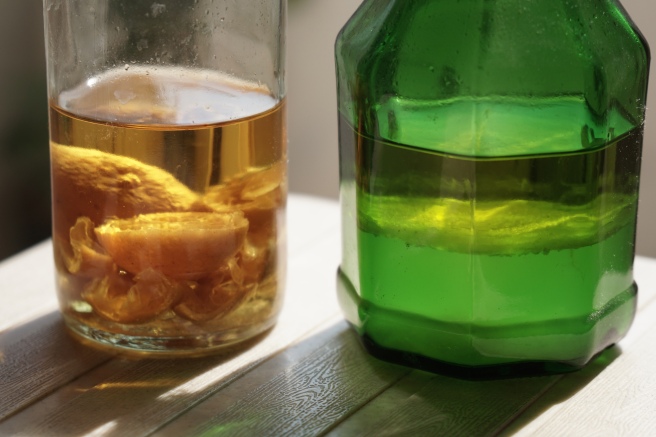
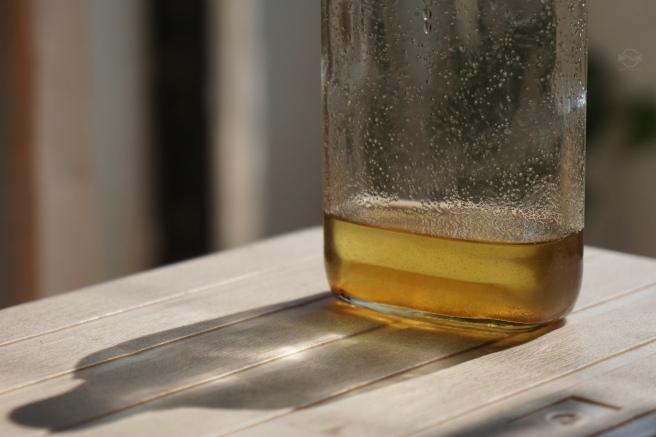
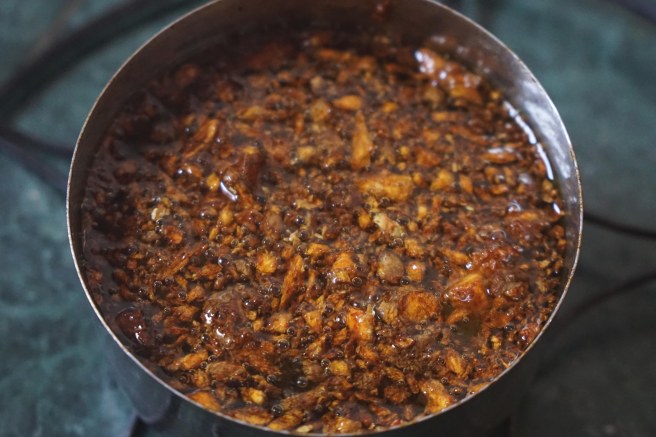
Here I am sharing the very easy turmeric oil making process along with my recent experience, hoping it might be helpful. Around 2014 DH started getting small red patches over his forehead and cheeks, it was extremely dry and itchy, slightly swollen, it aggravated when exposed to sun. Every day he would return home with new the red patches which eventually turn into white dry patches. Soon my once carefree hubby was  under constant fear of getting out in the sun. And things looked  worse day by day. It looked dry so I guessed a good moisturizer would do the job but soon realized it was not so. Next we went for the sunscreen but that too did not do much good. Then an appointment with a skin specialist, who consoled us saying nothing serious and prescribed medicine.  Soon winter approached and with the medicine his skin healed.

DSC08504
Allow it to cool down

Up until the next summer, during which it all came back and this time doubled the size. We were at our home town, there we consulted another doctor and again medicines were brought. On returning back, I did my own little research  and found alovera gel to be magic cure, well no harm in trying I said, and DH was convinced. Patanjali Alovera gel was the brand I choose and even before any effect was visible DH kind of enjoyed the massage he was getting every night (which was in itself a proof of something good is happening). A few months into the regime, I added the second most referred ingredient to alovera gel and it was also my favorite! A few drops of turmeric oil (home made). Even after his medicines were over, we continued with our alternative therapy. It was nearly after four months, when we first saw its effectiveness. Soon, we were on our own, trekking, Goa tour, Pondicherry trip, Coorg trip and many more without any issue. Once a 30 minut to-and-fro ride from home to office left scars and itchy skin, we were more than glad with the results! First the itchiness was gone, then the reddenning due to sun and finally the white dry patches now slowly fading. With all that, we still continue the regime as its important to understand that any issue be it acne or eczema or anything, they are the reflection of some deeper issue, which might be pollution or immune system or age or anything else. We accepted that his skin has become sensitive and we will continue with this simple trick. We cannot say how long it will take to completely cure and we are not waiting for it. It’s just like applying any other moisturizer or sunscreen! We’re happy to know that if we can get rid of something in a natural and healthier way then why not!

DSC09615
Strain it and bottle it!

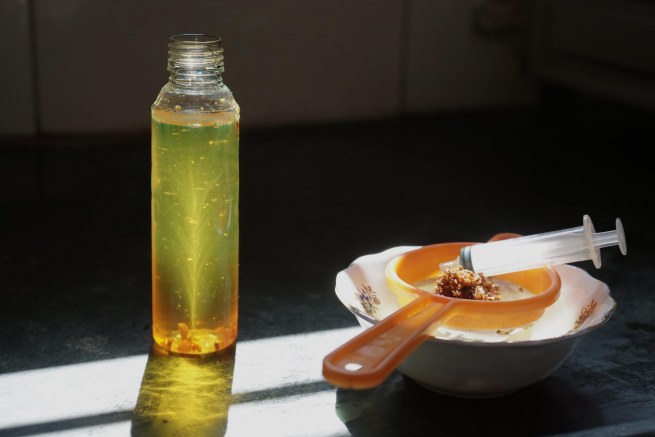
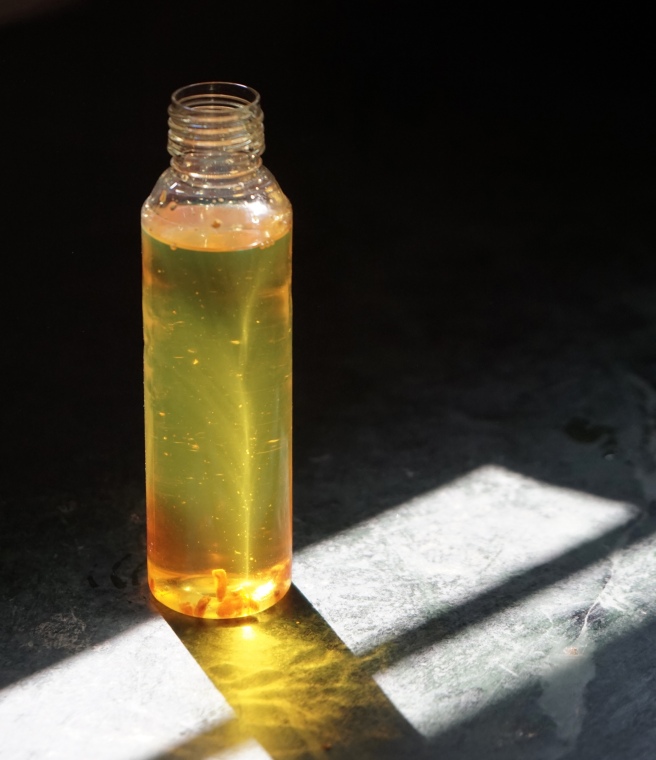
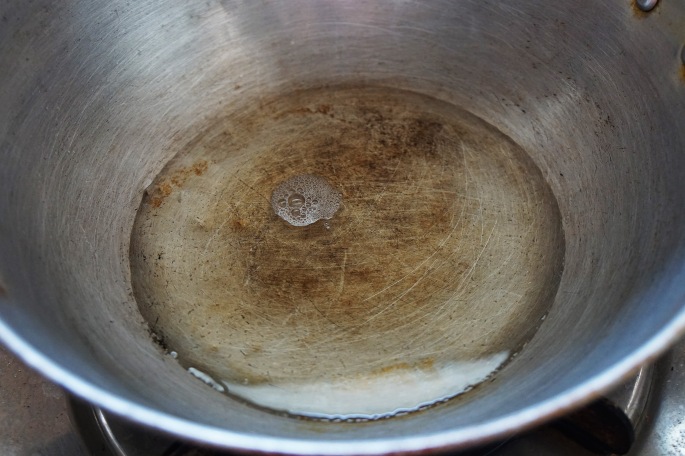
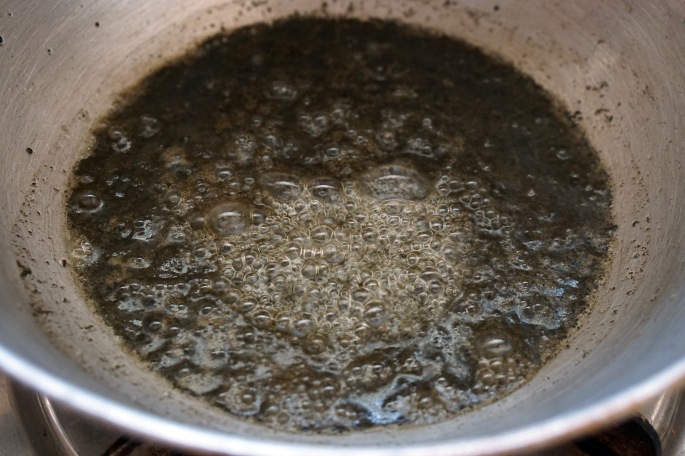
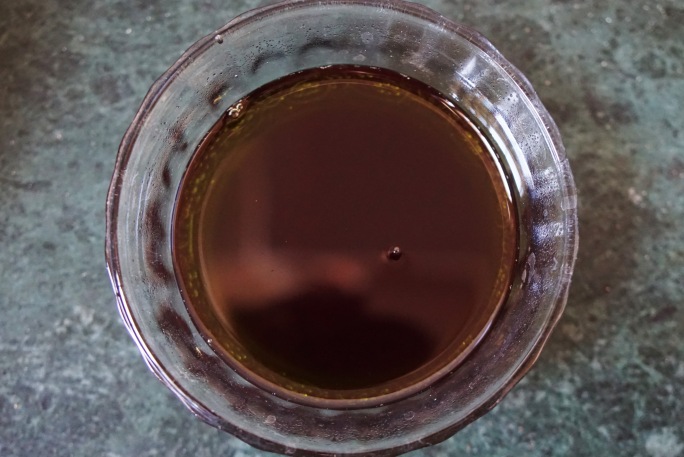
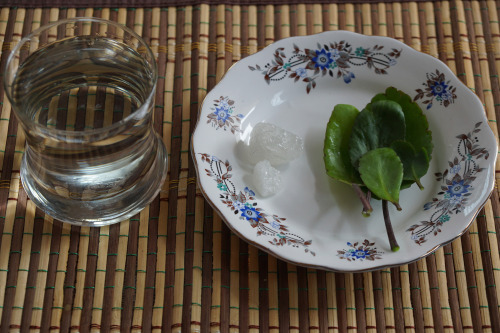
I have shared the turmeric oil making process, it’s simple and easy & I use it occasionally as skin moisturizer too. Other oils that I love and keep alternating with turmeric oil are coconut oil, almond oil, kumkumadi tailam. Other oils that sit beside my bed are castor oil for cracked heels, neem oil for acne, mustard oil for hair and feet massage ……and many more, will share about them in future.

DSC09608


Spilled Camphor oil….

How often do you feel pity for yourself? How often do you ask “why me ….??”

5
Lemon oil & Alovera oil in the making!!

I read that camphor oil is good for acne prone skin (of which I have been suffering since a long time), so I made some to see if it really helps, must have used it for 3 days and the jar fell from my hand!
This is the 5th or 6th time I’ve prepared a medicated oil and lost it to my ability to attract troubles! Before this it was turmeric oil that I used as moisturizer and I spilled it during our trip to Pondicherry, in the hotel bathroom and then spent half an hour cleaning the shower, I couldn’t have left it like that! Before that it was curry leaves oil for hair, before that, it was pure ghee that I brought from home and spilled in the taxi! Before that, I prepared cinnamon oil and in the making process I was supposed to keep it some dark place… I kept it in such a dark safe place, I could not trace it back! Before that!? The endless number of times I’ve spilled my feet massage oil!

3
Triphala hair oil
2
Turmeric oil

Yes, I am the chosen one,who some way or the other lands up at the place where you ask yourself, “Why God….why me???” Its absolutely fine when such things happen within closed doors but, but, not always can one be that lucky!

I am not just an expert in spilling oils, I attract troubles in many different types and forms! I  am also a water problem expert. During our stay at Darjeeling, the hotel bathroom geyser denied us the luxury of hot water where as in Mysore hotel it was only hot water, so hot that I enjoyed steam bath all the days! Think how we brushed our teeth.
Fine, hotels are fine, rooms can be changed, but what if you are getting late to work and your own shower throws a tantrum, even for 5minutes!? I go through that everyday. No this doesn’t happen with DH.. or may be at times men are more patient (says hubby)!

1
One more click of Lemon oil & Alovera oil, will be ready by the end of December

The third trouble is random, for instance, last November, when we were on a trip to Mysore (planning a post on the trip soon) and we were having a gala time eating and relaxing near Shivasamudram. When I got up to leave, there was a huge patch of black paint on my dress,only mine and that too in front of my in-laws! In a similar incidence when I went to Udaipur and we were roaming around with 10 other tourists, my… only my sandal broke! On top of that there was not a single cobbler to be seen around! In India you can almost find a cobbler in every other street but that day not a single one! Next, imagine! And the grand one for the last, you know Indian weddings, during outdoor reception there’s a huge standing fan placed in front of the bride and groom. While attending one such marriage party (thank God it was not my marriage) I climbed upto the stage with my nice to meet the newly wed and congratulate them, give them gift and click some pictures…suddenly I felt a pull, next moment what I see,  my chunni was trapped in the fan. The groom and bride are sweating and I, standing there holding one end of my chunni. It was a new dress that I was wearing it for the first time. 30 minutes passed and I was still standing there on the stage people trying to free my chunni, guests came, clicked pictures with the newly wed and went and I stood there asking “Why God….why??”

4
On our way to Shivasamudram, when our cab broke down

There are many many and many more… I also know many more are coming but that’s how life is. And I am sure you must have had such moments, may be more or many be less! All this has not stopped me from making more oils or sitting down at odd places or visiting new places and accommodating at reasonable places,  so that we don’t spend our days in the hotel rooms rather fly outside!

Bhringraj Oil

I’ve always loved oiling my hair. The gentle massage, the warmth of the oil…ahh, only one who has experienced knows. Ever since I switched from chemical shampoos to natural ones I also incorporated some ayurvedic hair oils. I found curry leaves oil, amla oil and bhringraj oil to be very useful. Instead of buying an oil with all these ingredients I decide to make them myself and try one at a time.

Today I’ll be share how to make Bhringraj oil and its super easy! While writing this post I did a little research and found that bhringraj is a wonderful herb and has many many benefits. Bhringaraj is considered as the main herb for the hair care. It is a wonderful liver tonic, provides relief from cold & cough, used as dye just to name a few.

DSC05839-edt
Bhringraj Powder and coconut oil

It is always better to use fresh ones but I could only manage to find powder. And coconut oil I used Patanjali as I find it comparatively more reliable than the rest.

DSC05848-edt
2 tbl spoon of Bhringraj powder mix in litter water to get a fine paste.

Once the paste of Bhringraj powder mixed in water is ready put a open mouth pan on the gas stove and add about 1 1/2 cup of coconut oil to it. When the oil is warm (not boiling) add the paste to the oil.

DSC05851-edt
Coconut Oil in a wide mouth utensil

After adding the paste to the warm oil bubbles will start forming, be at a safer distance. Wait for the bubbles to come down as the water portion in the paste vaporizes.

DSC05853-edt
As the Bhringraj powder slowly cook on low flame,it releases its medicinal values into the oil.

When all the bubbles disappears, know that there is no more water left ( follow your instincts, experience is the only best teacher) turn off the flame and let it cool down.

DSC05866-edt
Stained and ready to use! It looks black to deep green but in hand its just greenish

Strain the oil through a strainer and store it in a bottle. The color of the oil as you can see, is dark green. The oil is thicker than plain coconut oil. It has its own aroma, though I liked it, some might not find it very pleasant. I apply it overnight and wash it off the next day. It can also be applied 30 minutes prior to shower also. But like grannies say, the longer the better!

Last words, do not expect wonders. Do not think that hair fall or graying will stop overnight. I enjoy the process, the process of exploring, knowing different herbs and their importance, preparing it and at the end when I use it I derive much more satisfaction than I would have from a store brought one. My hairs definitely feel stronger and hair fall reduced but most importantly I feel better.

Burning frankincense

Writing down the list of necessary items for the coming months I paused and sat back, looked at DH who was drunken busy in his work, seeing me looking at him, he got puzzled (the look in his eyes said, “what did I forget this time?!?”),  “Nothing”, I said, just wish we could get rid of this mosquito liquidators, being exposed to any chemical for such a long span of our lives must be having some impacts no matter how much those companies deny the fact, isn’t it? DH quietly nodded in agreement with eyes still fixed on the laptop screen.

Alas! gone are those good old days when in the late evening hours frankincense would be lit and soon the house will be filled with its soothing smell, mosquito nets would be pulled and after dinner we would carefully slip inside the net for the night.

Ahh…the smell of the burning frankincense, I immediately googled it to know what the world thinks & says, found it to be a very  common practise in so many parts of the world! I also found many videos and post about burning frankincense over charcoal but it is not how we do it in our homes. So I decided to share how its done our way!!

DSC05896
Coconut husk/coir and frankincense
DSC05892
Its called Jhuna dani in Odiya, Jhuna (frankincense) dani (holder/container)
DSC05537
The coconut husk is carefully placed inside the container and frankincense sprinkled over it. And lit it.

Some places they use coconut shell as well. Lighting it can be a little tricky initially. Don’t forget to keep adding jhuna/frankincense and coconut husk in between as long as you wish…..

DSC05675
We keep adding frankincense little at a time. This one burns for less than 10-15 min and the smoke can stays for around 1 hour with fans off and windows closed.

The other thing I like about it, is that its a kind of small family activity, as kids we took part in removing the coconut husk, dry them in the sun if it’s wet, placing it in the container and fighting over who is going to add frankincense, with four of us(siblings), we surely did add a lot more than necessary!

Amar poi or Life Plant

This post is one of my initial post since I started blogging, but for some or the other reasons it has been delayed. One of the major reason was that I kept forgetting to take pics…every time the juice was ready we will drink it!

Anyway, now that all is set, let me tell you that this is a miraculous plant and it is known by many names like life plant, air plant, miracle leaf,donkey ears, leaf of life, goethe, the katakataka plant. One of its Odia name is ‘amar poi’. Amar poi is also our first plant that we planted since we moved in.

DSC05912

Life plant is loaded with medicinal values. It is used for all sorts of respiratory conditions-from asthma and coughs to bronchitis. It is also helpful in gastric ulcers, skin disorders and edema of the legs. External use of the leaf  is said to bring relief  in headaches, toothaches, earaches, eye infections, wounds, ulcers, boils, burns and insect bites. I came to know about it while searching for remedies for kidney stone.

There are different ways of using the leaves, I’ll share the one that we have been doing.dsc05612

Recipe:
Ingridents
Water – 1 glass
Mishri//rock sugar – 1 piece of 5cm
Amar poe leaves – 3-4

Method:
Soak the piece of mishri in water over night. Next day morning, take the miracle leaves wash them and add the the leaves to 1/4 of rock sugar water and run it on the juicer, stain it and add it to the rest of the rock sugar water and that’s it!

dsc05639
Looks good!

You want to know if it has cured or help cure in any way, I would say, its too early to say. Our life style is such that everyday we inhale loads of toxins, live an unhealthy lifestyle, not to mention our food habits. There are so many reasons responsible for the kind of health we have so no single thing can reverse the cycle. Lets give our body some time to detoxify and work with it towards a better health meanwhile, enjoy the amar poi (life plant) juice!

Handy notes:

*Amount of mishri/rock sugar depends on your sweet buds.
*If diabetic, skip the usage of mishri/rock sugar , it is as good in plain water.
*Mishri/rock sugar can be soaked in the water 1-2 hours prior to use.
* Though it is said to be okay to take everyday, we take it twice a week. At most thrice.

Herbal Tea

I’ve caught a cold and am resting for a while. I rarely get cold or fever, it was just the other day while massaging DH feet with warm mustard oil who was suffering from cold, I lovingly said, “I wish your cold catches me and let you free” and see here we are! As I am sipping my cup of herbal tea I thought, why not share it! Its a very simple & easy herbal tea recipe and brings great relief  in case of cold, cough & fevers.

DSC05206

Ingredients: Water : 1 Cup Ginger : 1 inch (appx) Bay leaves : 2 Black pepper : 4-6 Mishri (depending on sweet preference) Salt : Pinch (Optional) Time : 4-5 min Recipe: Add all the ingredients to 1 cup of boiling water. Wait till it reduces to half and stain it. Enjoy it warm. It can be consumed 2-3 times a day depending on the severity of cold and fever. 3-3

Handy notes

*In case of people who do not prefer sweet flavor, adding a pinch of salt brings DSC05215about a balanced taste.
*Having one cup will not bring about immediate relief.
*Black pepper can be skipped in case of unavailability.
*The quantity of the ingredients vary depending on the number of people & severity of aliment.

Green Bean Sprouts!

Sprouted green beans are loaded with nutritional values, rich in fibre, good for digestion, improves immunity system of the body and are so easy to make. I’ve seen a few posts on bean sprouting in jars! Never tried though, whatever works is great! I sprout beans the age old way. Sprouts are great for breakfast and can also be added to different recipes.

Here we go:
Green beans: 1 cup
Water: 2-3 cups

1

I started off in the morning (around 8am), so that it will be ready for breakfast the next day. First I washed the green beans thoroughly 2-3 times under running water and then soaked it in water for atleast 7-8 hours.

sprout2

And I forgot all about it…..evening (around 6 pm) removed the water and placed the beans in a thin cotton cloth (or muslin cloth), tied it and hung it over night.

Next day, its ready!

sprout3

Serving time, in the little bowl you see in the pic below is sprouted beans mixed with jaggery which is a rich source of iron & helps in the production of haemoglobin, I like it sweet and I’ve been advised by my doctor to add jaggery into my diet. For DH, since he prefers the mix flavour, I added chopped onions, green chilli, coriander leaves,peanuts, pinch of salt, squeeze a half a lemon and enjoy! How do you like your sprouts?

sprout4

A few handy notes,
* Once soaked, tie the beans only & only in cotton cloth, a friend of mine once tied the beans in a towel and they never sprouted, lesson learnt!
* Sprouting time can vary. If beans have not sprouted overnight not to worry, wet the cloth in which beans are tied and give it some more time.
* Eating a lot of sprouts is not advised so work according to your body.

No ShamPoo – 2

I’ve been experimenting with natural shampoo for some time now and the reason was simple, the constantly increasing number of hair care products and designed such that  one product would create a requirement for the other. Ofcourse having silky & shiny hair is a all girls dream but then, what are we compromising with. Recently, when my hairs started falling way more than they normally do and the home remedies that worked earlier were in-effective this time, I looked around for more. And that is how I landed up at no-poo method and eventually creation my own shampoo!

DSC03439
Shikae, Amla & Reetha

In my previous post I shared my first recipe on natural shampoo, though it was great (click here to check), I have been planning to make a all natural shampoo that can be stored without adding any preservatives for which I was in search of raw shikakae & amla. Finally my long wait come to an end, my sister who is here, has brought some for me. So here I am with the second alternative. It can be stored for a month!!!

Recipe: Soaked the 100 gm of reetha, Amla & Shikakie overnight in 2 ltr water. Next day remove the seeds and smash it in the water, then boil it for 5-8 minutes. Once cool, strain & bottle it. Thats it, your herbal shampoo is ready!

DSC03450
Soaked overnight

Follow your usual regime, wet your hair thoroughly and add a little at a time. Let it sit there for some time, before raising.

DSC03472
Natural, home made shampoo ready to be used!

A few things to be mentioned here, natural shampoo does not produce the kind of leather that a chemical based shampoo does. A chemical shampoo does nothing more that cleaning that too in a harmful way, leaving behind  its residue on our scalps which penetrate inside and show effects on long run. On the other hand a natural shampoo not only cleans but also nourishes the hair from within. Secondly, there is no way we can research on all the ingredients added to chemical shampoo and their effects on our health. Instead of hopping from one to the other, if we could give enough time to adjust & rely on to natural ways it will save us from a lot of health problems . I have been using it since last two weeks & I just love it. I’m still getting use to the no leather feeling but the benefits are keeping me motivated!  I like it as much as the first one but I think, I’ll stick to this one (it saves the pre preparation time :P). If you happen to try it, do share your experience!

Food on our plate

This blog is a home makers journal and everything revolving around an ordinary home in the making. There is really nothing new I can tell that you already dont know, but its the ordinary which is most beautiful and is what i wish to treasure & share with all. If you wish, do walk with me on this lane…..

Here in India, kitchen is still considered the most important place in a home. And many women take pride in their role as a home maker. But its not all that easy! For long our parents especially mothers, have made this balance between providing good-healthy food and managing all in a tight budgeting look so simple that we rarely put any thought into it.

Home making  requires a lot of  dedication and conscious effort. The above pic is an average day meal in an Odia household. Rice, dal(lentils) & sabji (anything extra are good!) Not usually kerela with mango, but I had to finish the mangos…. Odisha is an eastern coastal state in India, it is also one of the largest rice producing state and the varieties of vegetables used per day in an Odia family is something I’m yet to experience anywhere else in India. And now, the most important thing- I love rice! 😀 All my non-odia friends lovingly tease me about it!

DSC03075 copy

I started cooking quite early, so, developed a taste for my own food and no amount of fancy food matches it.  Now DH’s company has provided us with a luxury food card and we are falling prey to its trap. As a home maker, we want every things to be perfect and to our standard &  those times such habits becomes a challenge. The other such challenge is, when I’ve to push myself to go for veggi shopping after office every monday! Which is today…

DSC03076 copy

On mondays a small vegetable market is set up at a distance of few steps from where I live. Family and friends  love it when they visit us. Its a common practice in India, you will always find a local market near by selling fresh vegetables. At times its directly from farmers as well, organic!

DSC03078 copy
I try to shop for a week only so that, next week i can get fresh veggies!

Despite all, I love shopping from local stores. Though many times I’ve been suggested to order or buy from commercial stores or malls, I choose not to. Reasons are simple, we get fresh fruits & vegetables here, better price and support our local farmers & businessmen.

No Shampoo (No Poo ) – 1

By now you must have heard or read about the “No-Poo”method or may be even tried it! In case, if you have not, its basically a method of washing your hair with natural ways rather than  using chemical based shampoo.

So before i jump into my experiment with no poo method, did you know, that the word shampoo in English language was derived  from India!!! In Hindi, its called  chāmpo which is again derived from the Sanskrit root capayati which means to press, knead, soothe! http://en.wikipedia.org/wiki/Shampoo Modern day shampoo was introduced in 1930 and hence, must have become prevalent in India around 1990’s. Not very old, isnt it?

Surfing through net i found many videos on No-poo methods, mostly using baking soda and water. But i wanted to try something which is more common to our lifestyle, something more a part of age old Ayurveda tradition and naturally available.

Then i remember, as a kid,  we had many soap nut plants in our school and children would play magic tricks of creating foam without soaps! So, refined my search and found that, many have suggested amla and shikakai along with reetha to be very useful.Though powder form is easily available, i wanted everything raw to get the rawest feeling.

Reetha and amla are available and am still in search of shikakai (online the price is way more than it should be). During this waiting & searching phase, a neighbor seeing my curiosity suggested me this recipe using reetha alone.

IMG_20141010_134245910_HDR
A good prior wash!

Recipe:

Its very simple & easy, take 20-30 pieces of reetha/soap nut (depending on the length of your hair), crush them to remove the seeds and  soak it in cooked rice water over night. Next day, grind it & filter it and thats it, your shampoo is ready! Wet your hairs thoroughly before adding reetha shampoo. Instead of pouring all the shampoo at a time, keep adding little a time. Let it be there for some time and lastly wash it off.

DSC01528

DSC01539

My Experience

  • It took me some time to the quantity right,
  • My hair was completely clean and oil free
  • It did burn my eyes but i’ll continue using it.

DSC01545

Few important tips to remember:

  • It does burn your eyes a bit, like regular shampoo but its not unbearable or harmful.
  • While grinding better take less quantity to save yourself from the latter cleaning.
  • You can try the same with water but that left my hair a bit dry, as i do not use conditioners, i prefer prior oiling.
  • I’m not sure if this one can be stored in bottles or fridge (do check the next shampoo post where I’ll share shampoo recipes that can be stored)

DSC01547

If you are looking for a healthier alternative for your hairs, you should definitely give it a try. Initially you might miss the feeling that you are use to, but, if you worry about whats penetrating into your skin, what effects would the residue of chemical shampoos have on your scalps and health, then, do give it a good try before reaching any conclusion.

All the best!